
A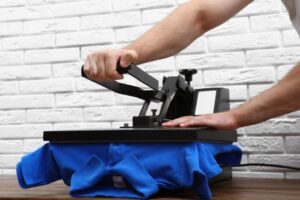 n unaligned vinyl transfer is the nightmare of every crafter. This happens when you do not center your shirt properly on the heat press.
Not only does the result of this nightmare looks bad to the eye, but it is also a stain on the reputation of the business. Therefore, it is of utmost importance to properly center your shirt before attempting to place the transfer.
Lucky for you, this seemingly difficult task can be done in a cinch if you use the method that is shared below.
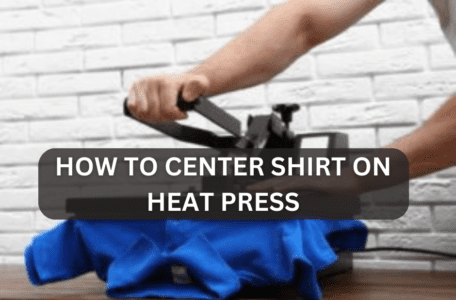
How To Center Shirt On Heat Press
Within a few easy steps, you will center your shirt perfectly, and create a transfer that is aligned from all sides.
Items Needed
If you wish to only learn how to center your shirt on a heat press, then there is not much you will need. All you will require for that is a clean shirt, your heat-press, and a sheet of parchment paper.
Step 1
Plug your heat-press into the closest power outlet, and turn the machine on. Once the machine powers on, then you will need to adjust the settings. These settings include the time of the press, the temperature, and the pressure. Make sure that you set each one of the above-stated settings according to the nature of the garment that you are about to press.
Step 2
Once all the settings are adjusted perfectly, then you can open the top platen of your heat press. Place the shirt on the bottom plate neatly, cover it with a sheet of parchment paper, and shut the top platen. Press the shirt for 4 to 5 seconds. This is a pre-press, and it helps in eliminating all the creases, and moisture from the shirt. Pre-press gives you a flat and smooth surface to work on, which makes it easier for you to center the shirt perfectly.
Step 3
Lay the shirt flat on the bottom platen, making sure that both sleeves are also flat and free from creases. Take one sleeve and flip it backward, till it overlaps the second sleeve. This is a really critical step. You need to make sure that both sleeves are perfectly aligned. In addition to that, you also need to make sure that the neckline, as well as the edges of both ends of the shirt, are also in perfect alignment. If there is even a slight irregularity, fix that.
Step 4
Once the shirt is sitting neatly on the lower platen, with a fold, cover it with a sheet of parchment paper. Then, you need to shut the top platen. Press the shirt for 5 to 6 seconds. This second press will create a straight line in the center, from where your garment started to overlap. As you centered it perfectly before attempting to press it, the line will be straight.
Step 5
Lift the top platen, and remove the sheet of parchment paper. Unfold the shirt, and lo and behold, a vertical line has formed on your shirt right in the middle. This is the centerline of your shirt. Now you can use this straight line as a guide for placing your vinyl transfers.
Conclusion
Centering your shirt does not mean you take out the measuring tape, and start marking points. That method will take you hours, and has a chance of failure. However, the one that has been shared in the article above will always help you center your shirt perfectly.

I’m Henry Collins and living my happy life. I’m a professional businessman and I own and run 6 Heat Pressing Services stores where I provide my clients with custom Designs on hats, mugs, T-Shirts and a lot more using Heat Press Machine. Been using a heat press for the last 4 years and people love my work. As I’ve got enough information on Heat Press I decided to make a blog on it and share my knowledge with the world. I hope, the world will appreciate it.