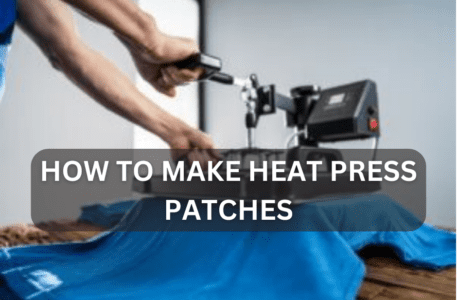
Knowing each step of the process of making heat press patches is one thing. Following those steps down to the last detail is the real game-changing factor that will take the quality of your projects to the next level.
Instead of letting you stumble on the internet in the search for the best procedure, I have written the entire method of how you can make heat press patches below.
How To Make Heat Press Patches
In a handful of steps, you will be able to create stunning patches via your heat press.
What You Will Need
In order to make heat press patches, you will need to gather a couple of things beforehand. You will need a heat press, obviously. Moreover, you will also need transfer patches, a lower pillow heat platen, heat-resistant tape, and a foam cover pad.
Step 1
Unscrew the lower platen of your heat press and remove it from the machine. In its place, you need to add the lower pillow heat platen. Once the pillow platen is in its place, you can turn your heat press on.
Step 2
After the heat press has come alive, set the time and the temperature of your machine. Both of these settings are highly dependent on the type of surface that you are transferring the patches onto, and the material of the patches. If you are transferring the patches to a jersey, then the time will be different than for cotton. The ideal time range for patches is generally between 20 to 25 seconds. Moreover, the suitable temperature for patches ranges between 280°F to 320°F. Set the temperature according to the nature of your materials.
Step 3
Give your heat-press a couple of seconds to reach the optimum temperature. Once it is hot enough, then place your shirt or the garment that you are transferring the patch onto the lower pillow platen. Shut the top platen, and give your garment a pre-press for 4 to 5 seconds to prepare it for the final press.
Step 4
For patches, it is critical for you to pick the spot very carefully, as taking them off often results in a damaged garment. Take the patch that you wish to transfer and place it on the garment. Tape it in its place with the aid of any heat-resistant tape. Take the foam cover pad and place it on the patch. Once everything is in its place, then shut the top platen.
Step 5
Lift the top platen when your heat-press makes a beeping sound, indicating the pre-set time is over. Remove the foam cover pad from the patch. Then take the shirt off the heat press, and place it on your worktable. A really important thing to keep in mind is that patches take time to cool down. Therefore, let the garment cool off completely, then rip the tape off the patch. There you go, you have got yourself a perfectly heat-pressed patch.
Conclusion
Heat-pressed patches look really good, no matter where you transfer them. Wish to make heat press patches at home, and create beautiful pieces for yourself? Then read the procedure stated in the article above, and follow every step as it has been stated.

I’m Henry Collins and living my happy life. I’m a professional businessman and I own and run 6 Heat Pressing Services stores where I provide my clients with custom Designs on hats, mugs, T-Shirts and a lot more using Heat Press Machine. Been using a heat press for the last 4 years and people love my work. As I’ve got enough information on Heat Press I decided to make a blog on it and share my knowledge with the world. I hope, the world will appreciate it.

